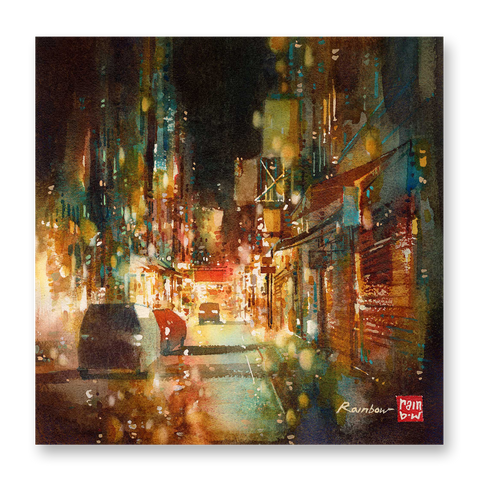
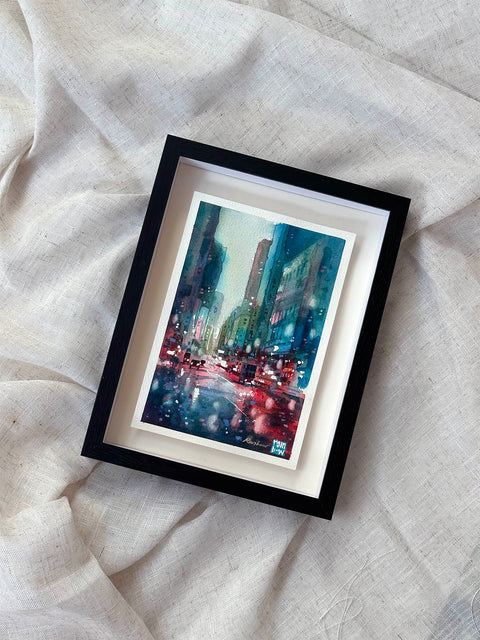
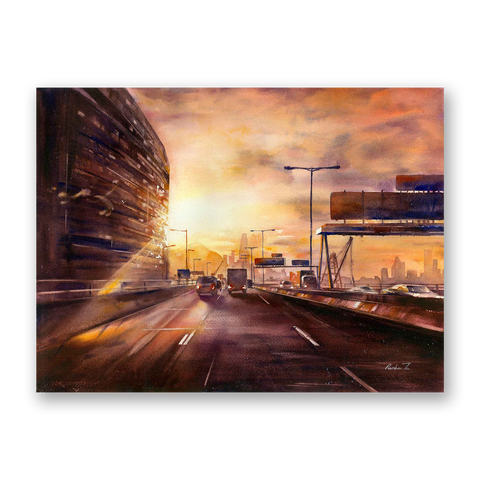
How I Paint a Rainy Cityscape in Watercolor: A Simple Step by Step Breakdown
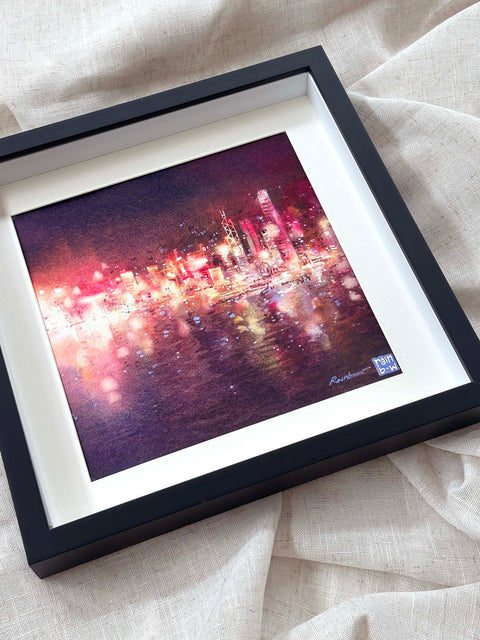
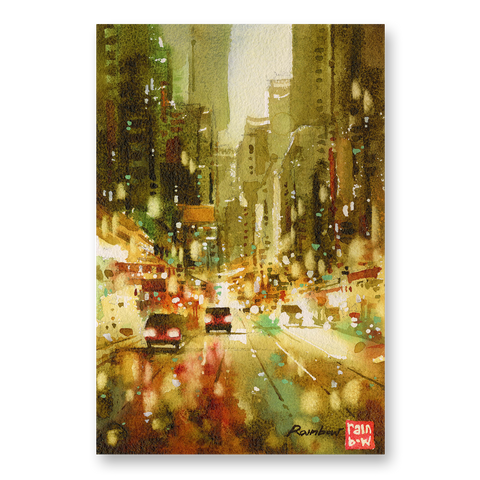
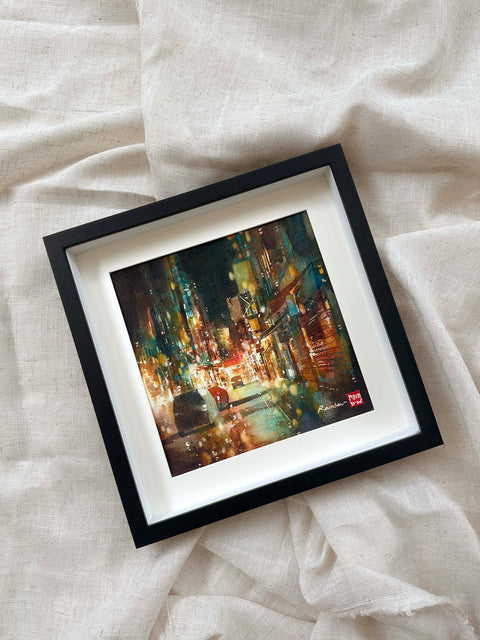
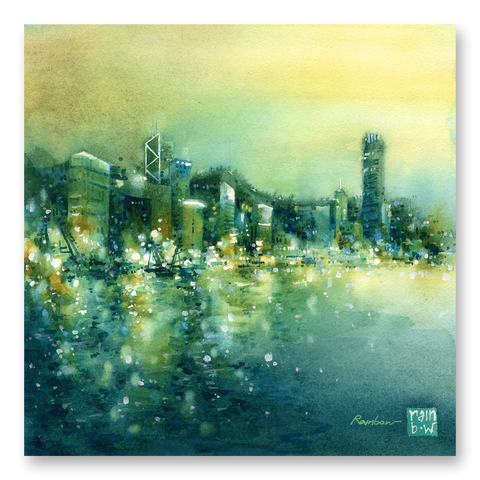
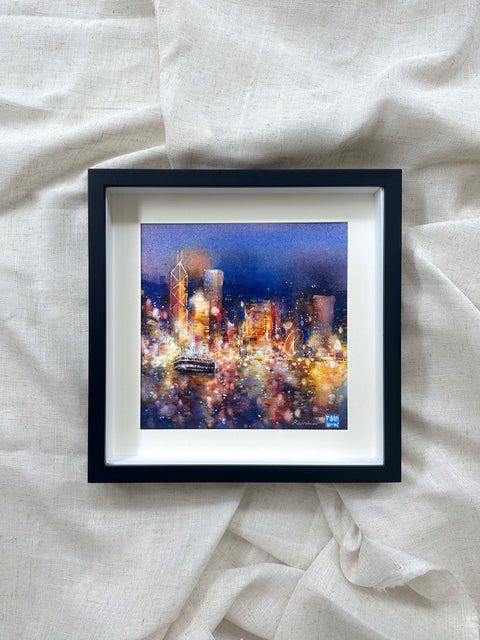
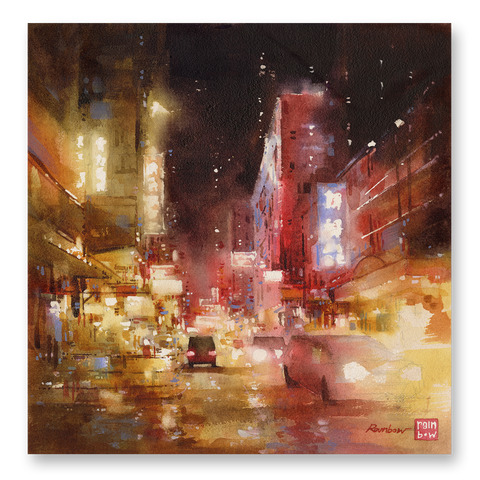
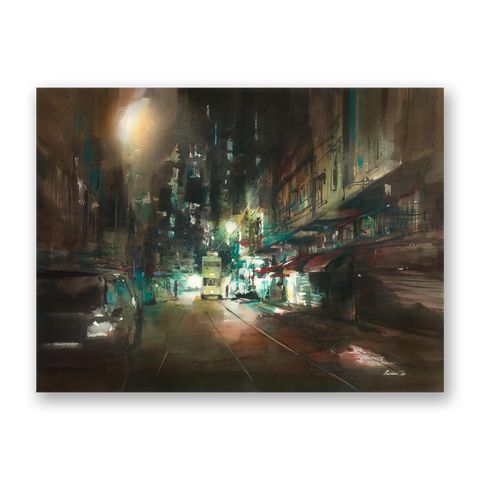
Another breakdown blog post into my watercolor painting process! This time I will be sharing with you the process of how I painted this rainy cityscape painting scene in watercolor.


Art Tools and Materials I Used:
*Some of the links in this post are affiliate links. I earn from qualifying purchases, at no additional cost to you. I only feature products that I use and truly love.
Watercolor Paint:
Watercolor paper:
Baohung Watercolor Paper - Amazon Link (I use cold pressed)
Watercolor Brushes:
Large Hake Brush
Small Round Brush
Other Tools and Materials:
Watercolor Palette from Mijello - Amazon Link (For mixing paint, this has the smoothest surface)
Palette Box - Amazon Link (Storing paint, this is air tight and keeps paint from drying)
Masking Fluid from Winsor and Newton - Amazon Link (I use this instead of colorless so it is easier to see)
Masking tape
--
Rainy Cityscape Painting in Watercolor: A Breakdown
Step 1. The Sketch
Starting with a sketch in pencil, I marked out the vanishing point and sketched the perspective lines (you can see the diagonal lines that extend out from the car). Roughly sketching out the squares and rectangles that make up the buildings and neon signs of this cityscape, take note of where the light spots are; these are where you will put masking fluid (see the next picture for a clear view of where I placed it).

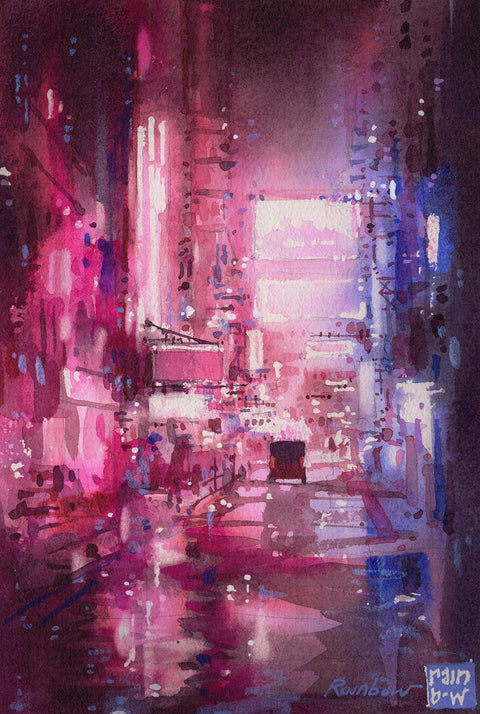
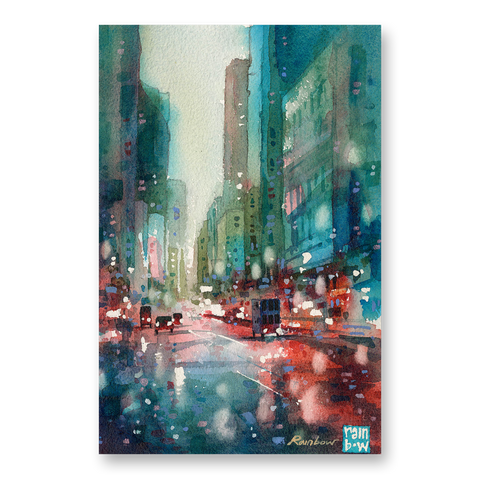
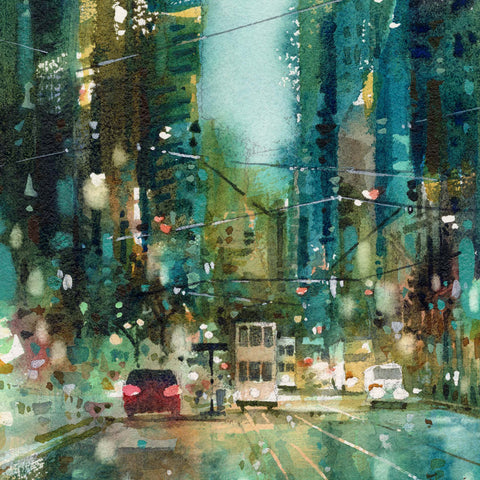
Step 2. The Background Wash
After the masking fluid has dried, tape the edges of the painting with masking tape, and then it is ready for the first watercolor wash!
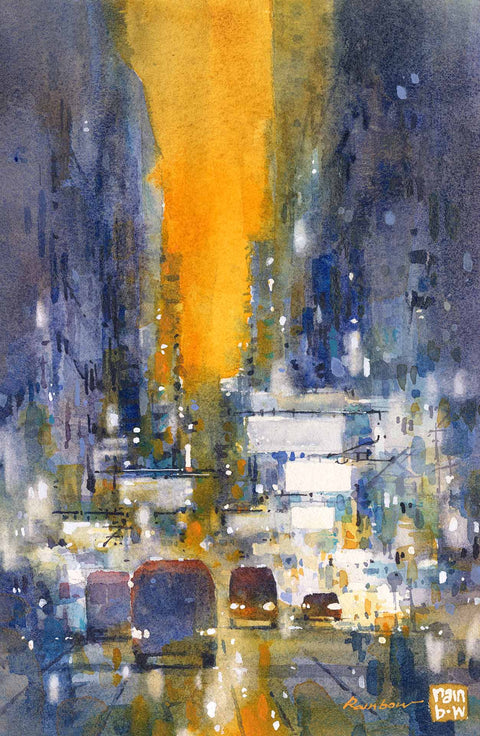
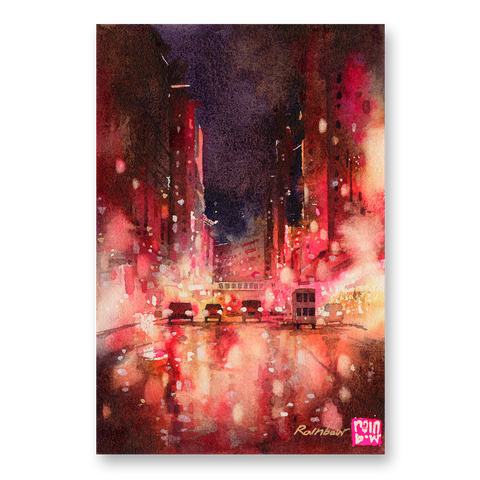
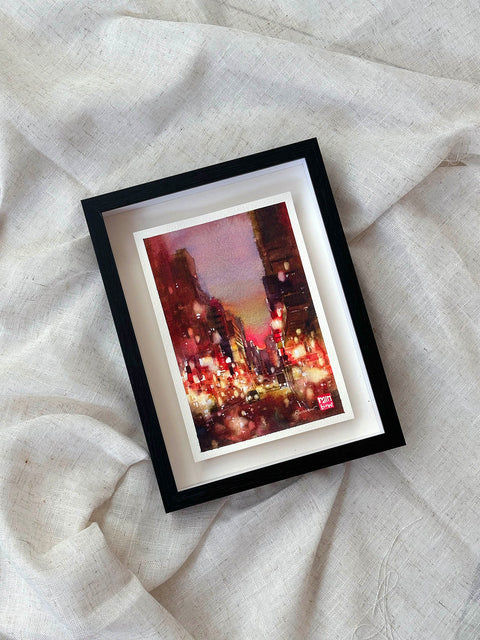
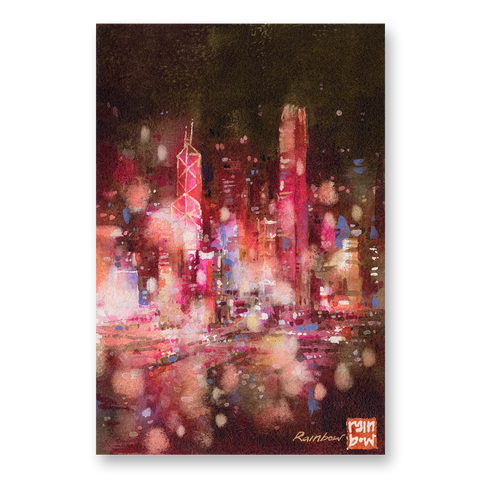
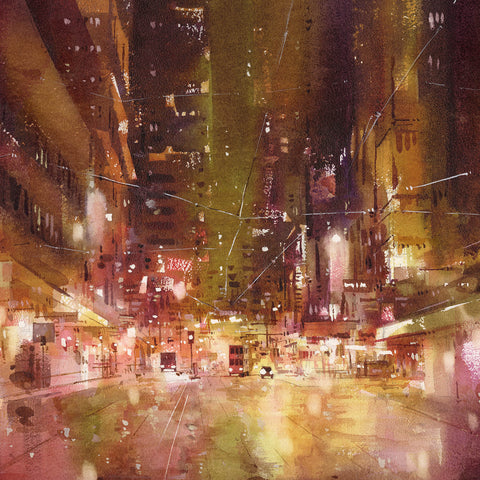
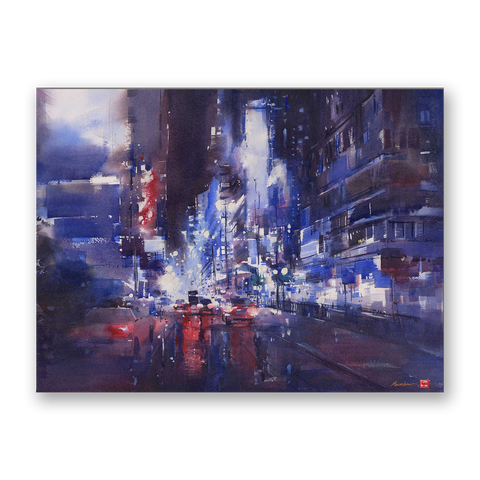
I know it seems daunting, seeing the big jump from the sketch to this picture. However, this was all done within one wash while the layer was wet. Start with the lighter spots in the middle of the painting and apply the pink opera color paint. Mijello's opera pink is one of the brightest pinks I've tried (amazon link here); it gives off almost a fluorescent neon feel because it's so bright.

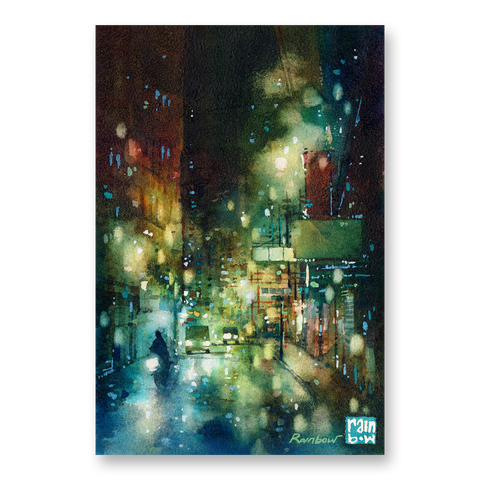
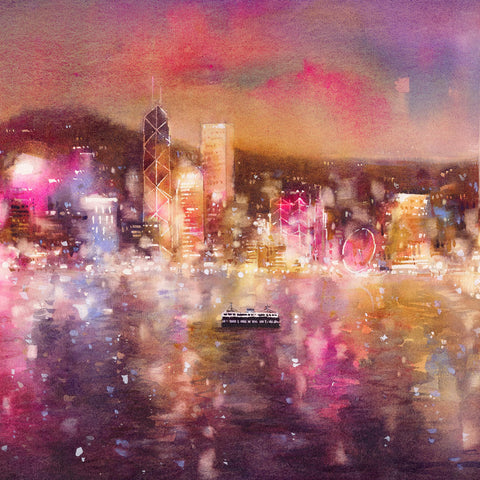
When you're painting the rain, notice that the light reflections are much more exaggerated and elongated. The colors can be a bit more dramatic when compared to when there is no rain.
Unlike in oil painting where you work from dark to light, you start with the lightest areas when you paint with watercolor. This is why we add the masking fluid first, and layer on the colors bit by bit. Since there is no going back once the paint is on our paper, we have to focus on knowing where the city lights are and make sure those parts remain bright.
Related article: Setting Up Your Painting Palette For Watercolor (A Beginner's Guide)
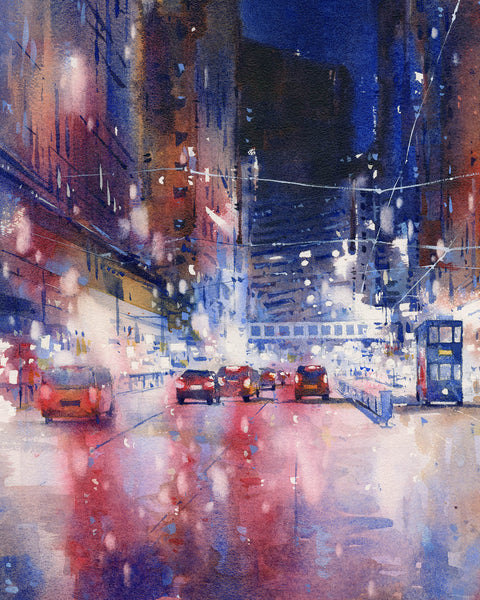
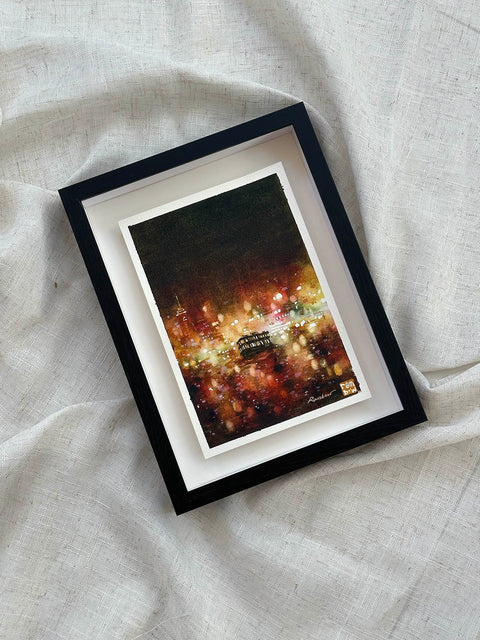
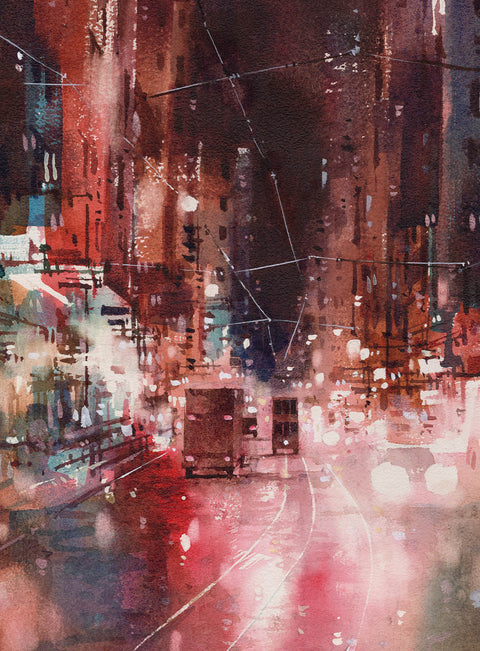
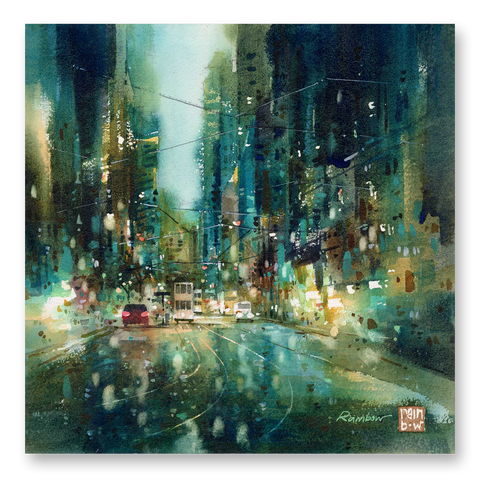
Step 3. Adding Depth to the Painting
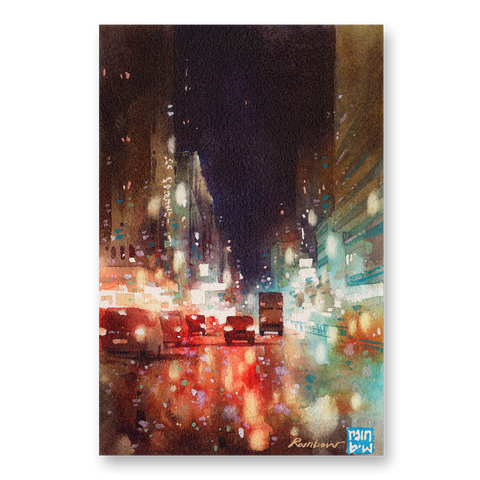
Once the background wash had dried, I removed the masking fluid. This reveals the white of the paper and allows us to see the light parts of the cityscape more clearly.
Using the same colors as before, I started adding a bit of depth to the painting. For this step, take a smaller brush and add the fine lines, the car silhouette, and reflections beneath. Note that this is done on a dry surface, unlike in the previous layer where it was mainly done wet-on-wet.

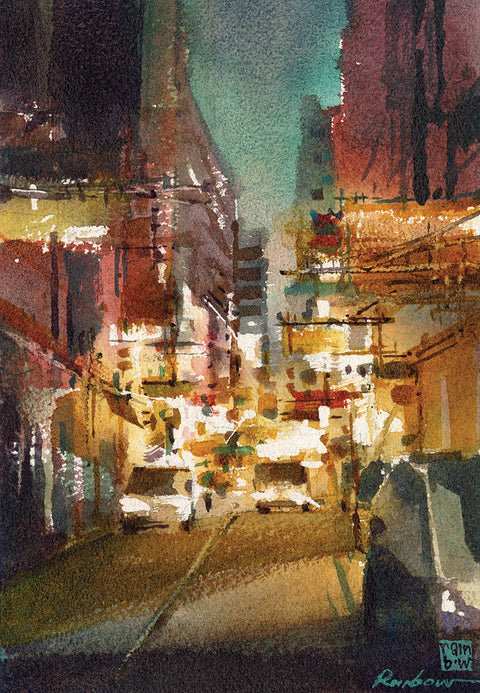
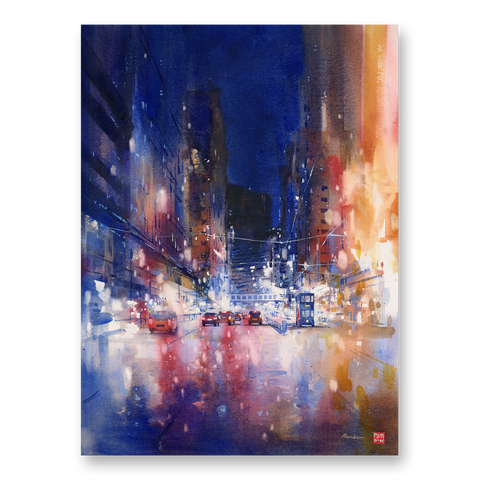
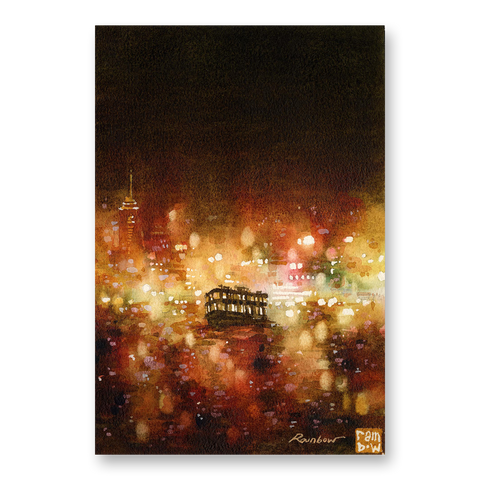
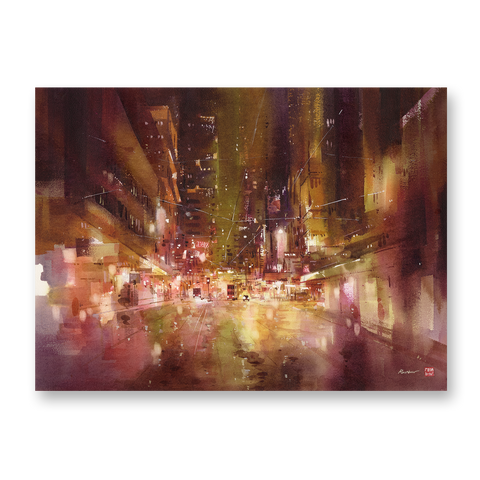
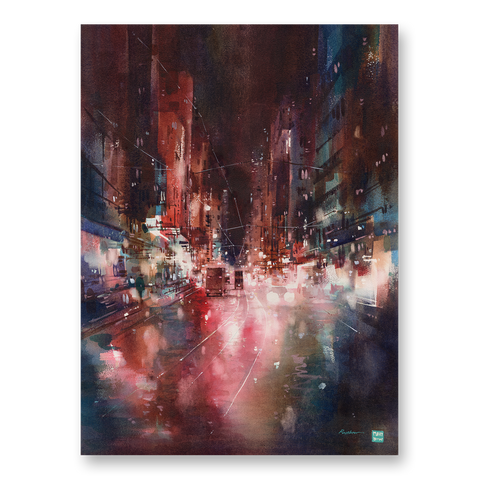
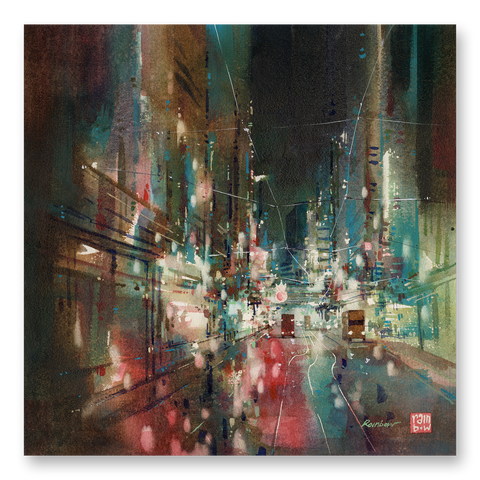
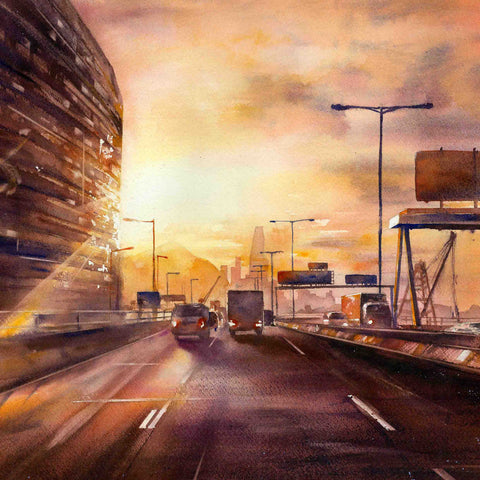
Step 4. Add Finer Details and Lines.
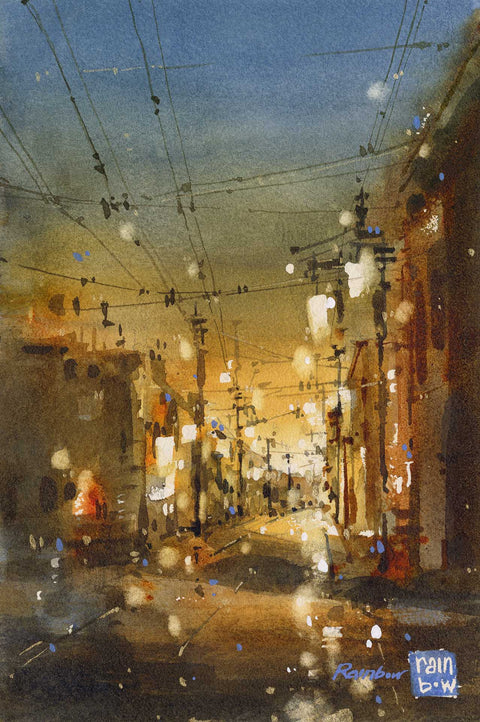
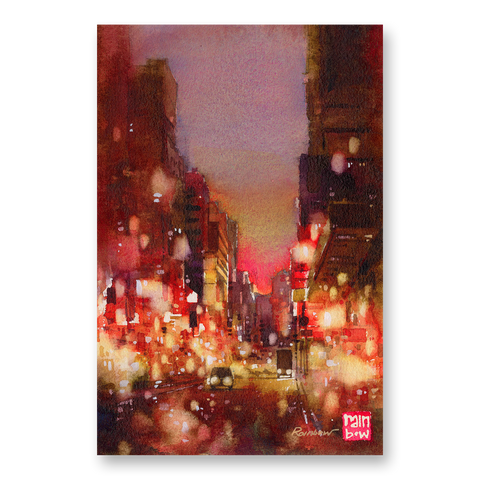
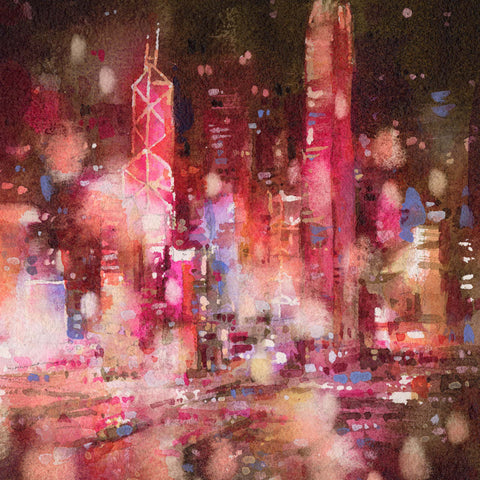
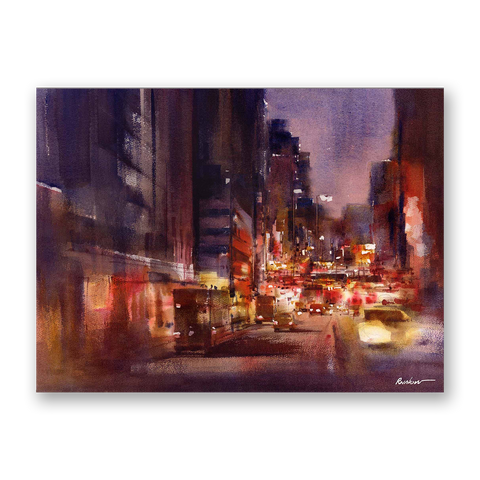
From this point on, the "foundations" of the painting have been set; the lighting and mood are already there. Now it's all about adding the smaller details so that we can create a bit more character and structure to this city street scene. Focus a little more on the buildings and their little windows, neon signs to further add to this step in the painting.
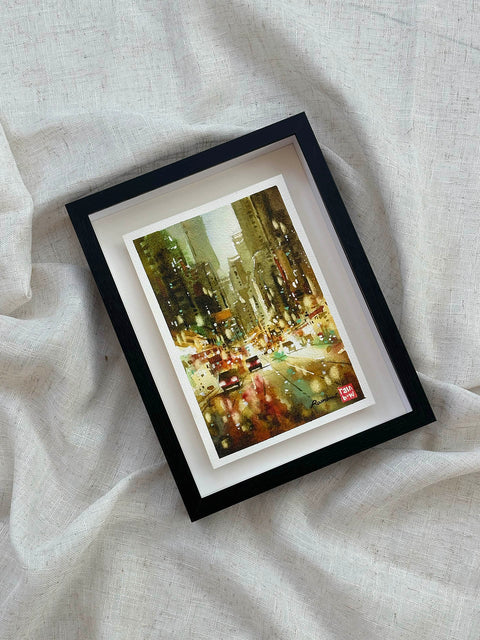
One of the great things about painting a raining street scene is that it's okay for things to be a little unfocused and fuzzy... :) I hope you give this painting a try and have fun with it!
If you are interested in learning more about painting cityscapes in watercolor, I have more videos on youtube and a detailed step by step online class here.
I also share more processes and insights into the painting process via my email newsletters. You can read them by joining my email list below.
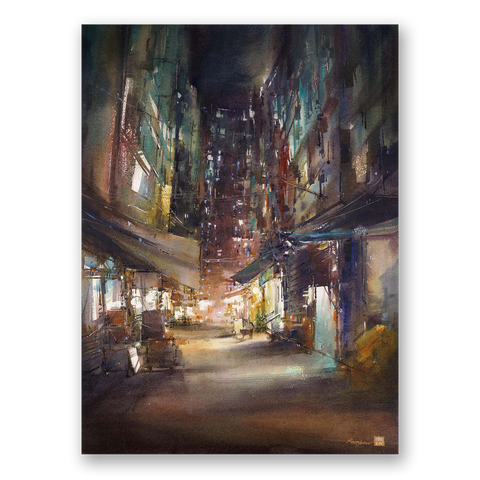
More Watercolor Paintings and Ideas...
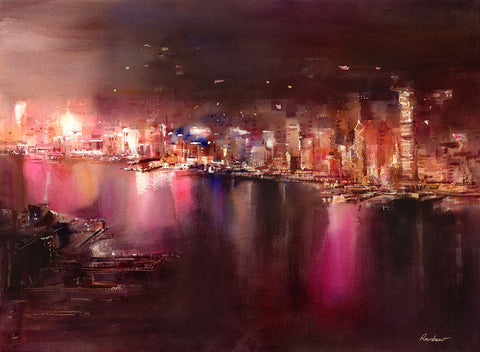
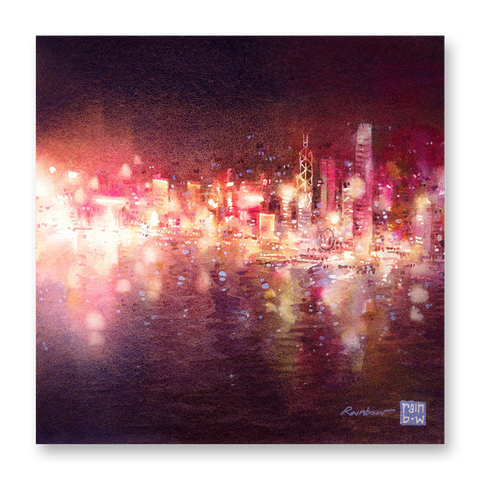
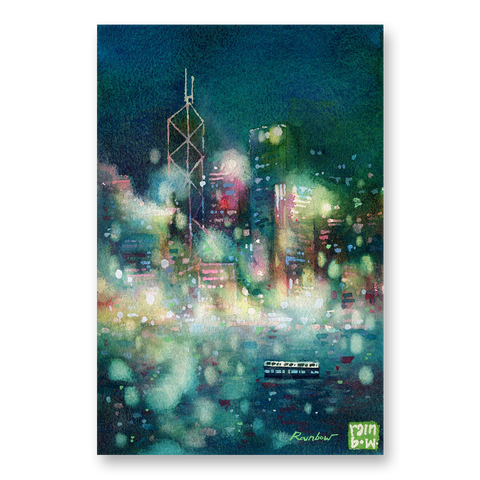
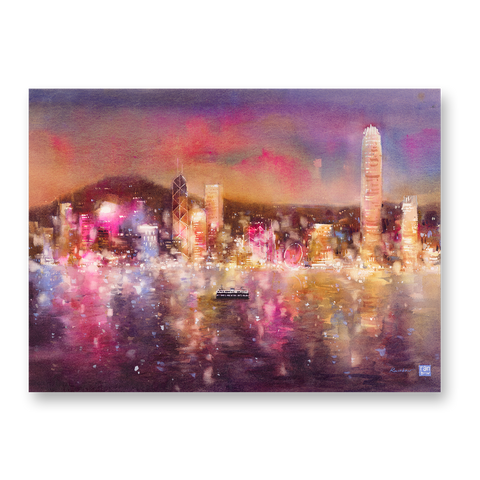
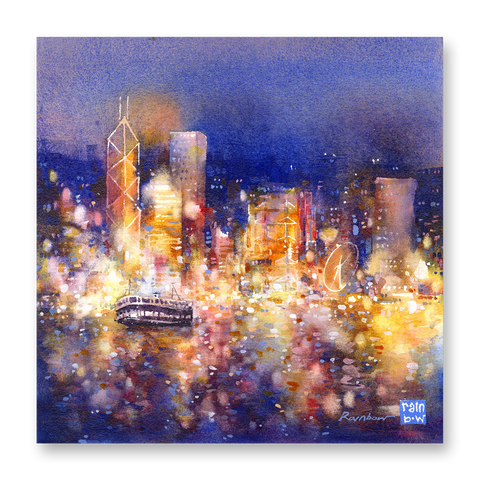
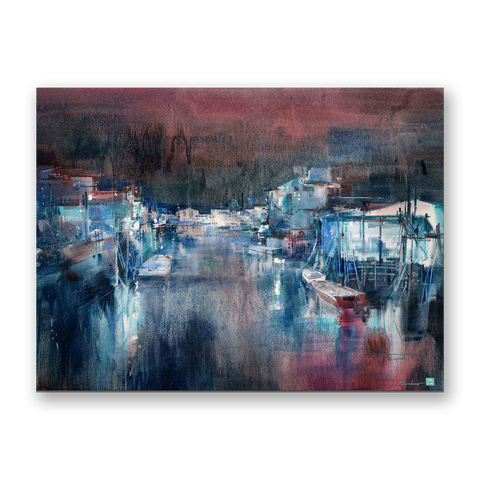
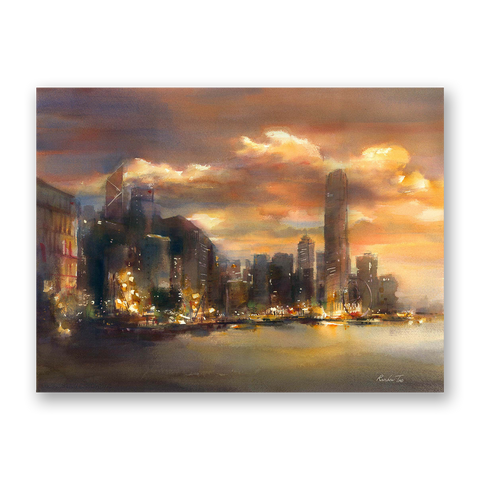
Night view of the City Harbor (Youtube Video Process)
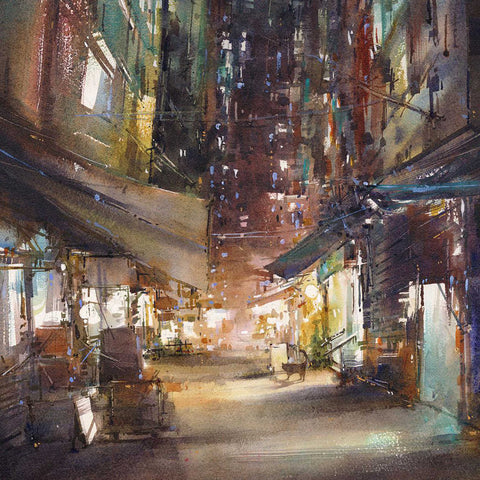
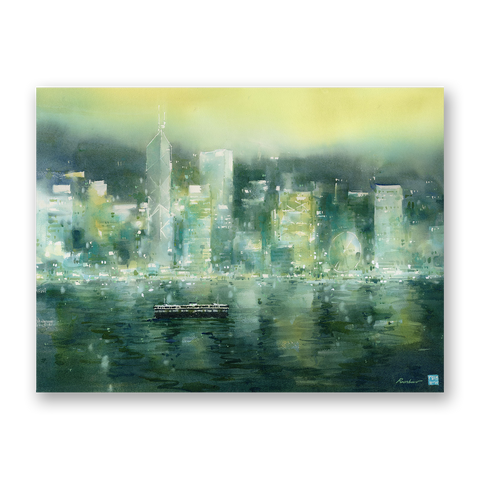
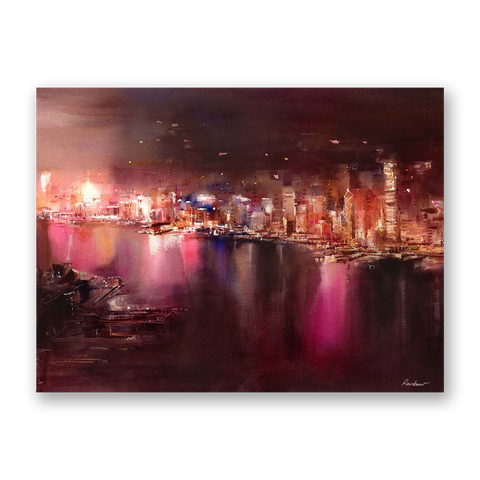
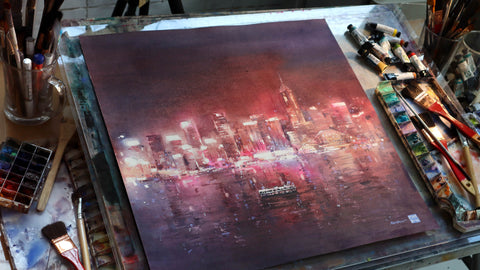
How to paint a cityscape - Night Cityscapes in Watercolor (Vol.1) (Online Class)
Meet the artist:
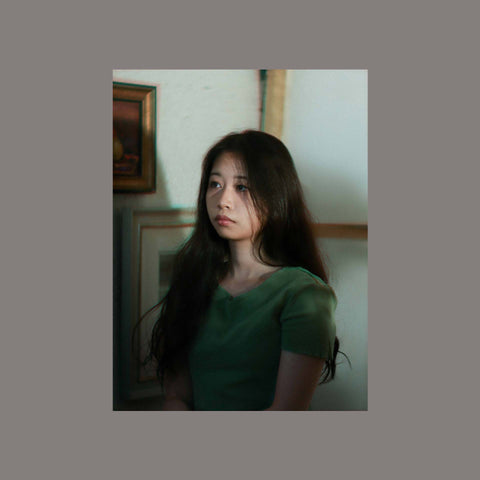
Hey! I'm Rainbow.
I am an artist based in Hong Kong. Among the various mediums with which I have worked, I found particular interest in the art of watercolor early on. I appreciated its fluid, flowing properties - it had a life of its own. The process of painting was like a dance with water; I was drawn to the movement of this medium, one that can never be fully controlled yet is wholly beautiful in its nature.
Over the years, I have created a number of series and collections exploring light and color in depicting environments and spaces. Painting has become the medium through which I ventured to see the world around me with wonder; to see the world in all its glorious beauty and serenity, with awe. In the last decade, I have been fortunate enough to share my work with others through exhibitions and workshops locally and internationally. I am honored to be sharing about my art with you here.
Here's where you can find more information about me and my work:
A look inside my painting process: On youtube
Learn to paint cityscapes with me: In my online class
Find my available original paintings: On my website
Find my art prints: On my website
Glimpses into my art practice: On instagram
Original Paintings and Art Prints by RAINB.W


Here's where you can find more information about me and my work:
A look inside my painting process: On youtube
Learn to paint cityscapes with me: In my online class
Find my available original paintings: On my website
Find my art prints: On my website
Glimpses into my art practice: On instagram
Read More on the Blog: