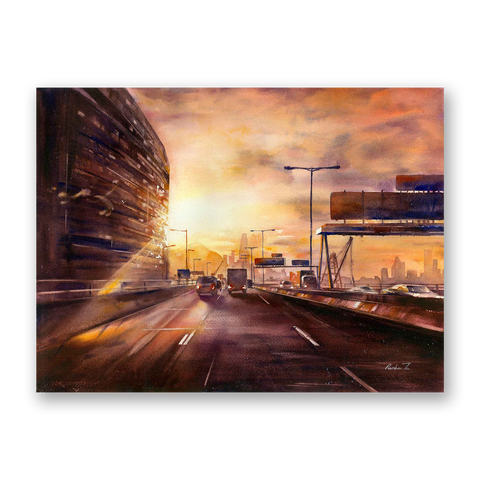
How to Paint Watercolor Sunset: Step by Step Tutorial
This was a quick and simple sunset watercolor painting. I used a limited palette with five different paints in total for the entire painting. The secret to achieving this sunset look was making sure you have the light source and values down. Adding the small glimmering light spots also help with capturing this mood at golden hour.
If you're new here, hi! I'm Rainbow. I'm a watercolor artist based in Hong Kong. I write about my painting process, share tips for beginners and all things watercolor on this blog. You can also browse my available original paintings and art prints on this website.

Easy Watercolor Sunset Tutorial
This is a simple sunset watercolor painting that can be completed in a few steps. If you prefer to watch the video process, I also have the entire painting process up on Youtube.

Art Tools and Materials I Used:
*Some of the links in this post are affiliate links. I earn from qualifying purchases, at no additional cost to you. I only feature products that I use and truly love.
Watercolor Paint:
Colbalt Blue from Holbein Watercolors - Amazon Link
Quinacridone Sienna from Daniel Smith Watercolors
Burnt Umber from Holbein Watercolors - Amazon Link
Watercolor paper:
Baohung Watercolor Paper - Amazon Link (I use cold pressed)
Watercolor Brushes:
Large Hake Brush
Small Round Brush
Other Tools and Materials:
--
Simple Watercolor Sunset - lets begin...!
Step 1. Starting with the Sketch.

Step 2. The Background Wash.
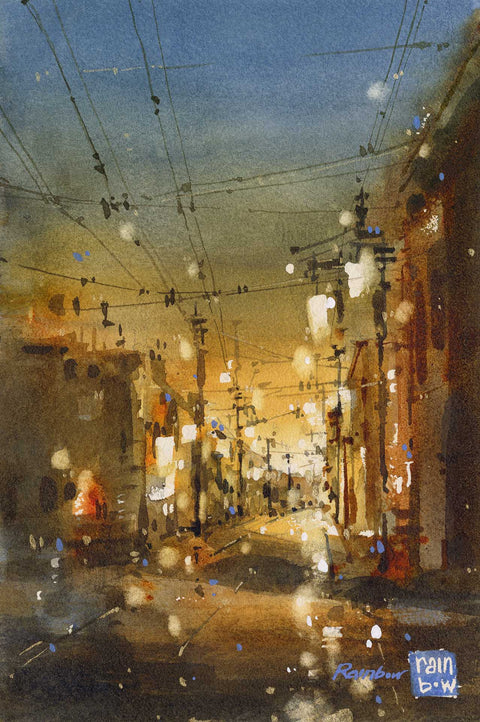
To create a golden undertone for the watercolor sunset, start to paint with a bright orange. For the background wash, use paint with a more watery consistency to make it easier to mix and blend. After that, I added some blue above the orange to create a gradient sky effect.

Step 3. Deepen the Shadows.
This blue paint can also be used to create some of the shadow areas. When mixed with the orange and brown paint, it makes for a great dark color. Wet on wet painting techniques create the best results for this step in our watercolor sunset.

This is how the watercolor painting looks once the first layer has dried. You can see that it dries lighter, so keep that in mind when you are painting your background wash. Don't be afraid to paint with bolder colors as sunsets often have a vibrant and bright glow to them.
Step 4. Add Structure to the Painting and Remove Masking Fluid.
Once the basic values (the lights and darks) of the painting are clearly defined, the rest of our painting process is about building on the structures and details. This is a good time to remove the masking fluid, it will help you see the structures of your sunset painting more clearly, as the white of the paper is more defined. Make sure the layer is dry before removing the masking fluid.

Use a thin brush to draw the power lines. This is probably my favorite part of the process, as I feel it really brings the painting together. Go slowly and steadily with this step.
Step 5. Finishing Touches for this Watercolor Painting
Afterwards, use a damp small brush to "lift" some of the color off the painting. This is to create more light spots and to blend and blur the masking fluid bits from the beginning. And continue to add the final details with the small brush as we move towards completing this watercolor sunset.
What do you think? I hope you enjoyed a look into this simple watercolor sunset painting.
If you enjoyed reading this, you can join my mailing list for more. I share my painting processes, art tips via email regularly.

Related articles: Setting Up Your Painting Palette For Watercolor (A Beginner's Guide)
More Painting Process Breakdown:

Here is another painting process breakdown that I have written about. You can read it here.
More Watercolor Sunset Painting Videos on Youtube:
If you liked watching and following along on this one, I have a few other watercolor sunset processes and tutorials that you may explore. I hope it will provide you with some inspiration.
More Sunset Painting Ideas:
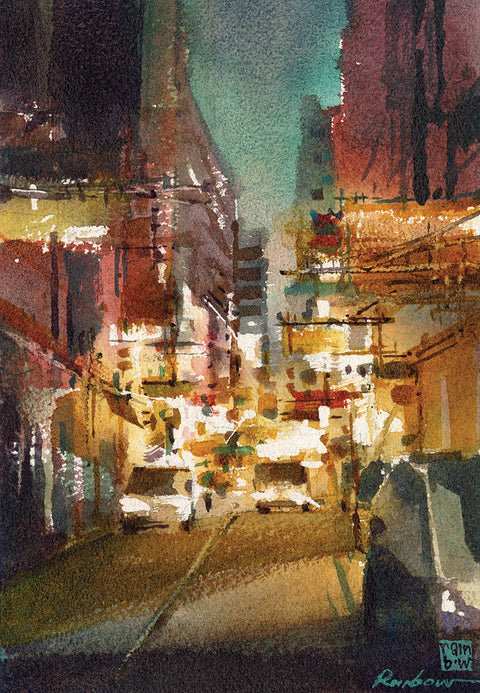
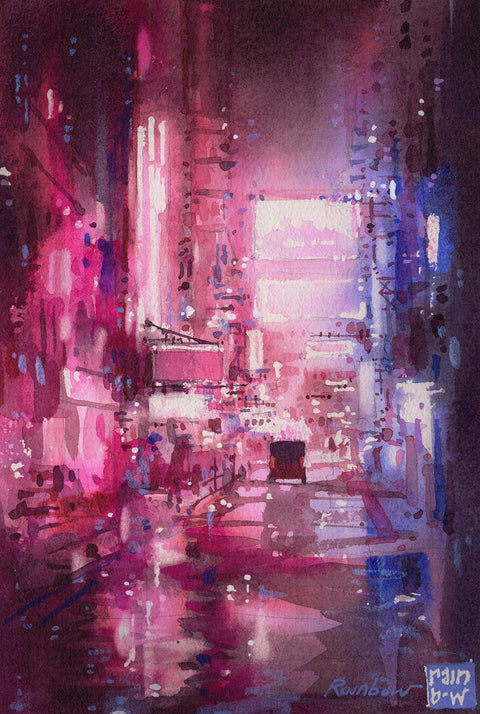
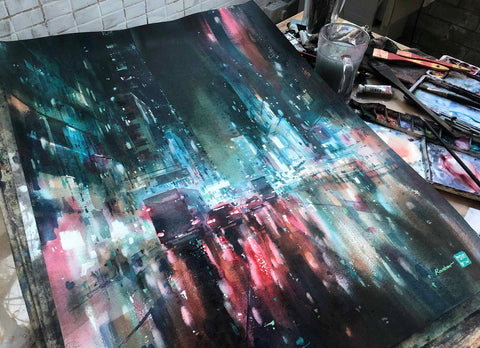
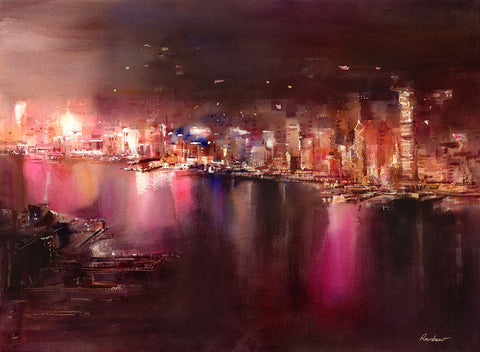
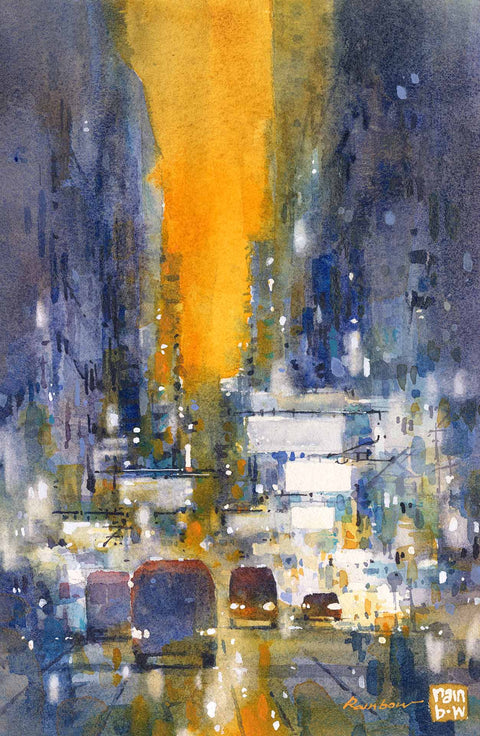
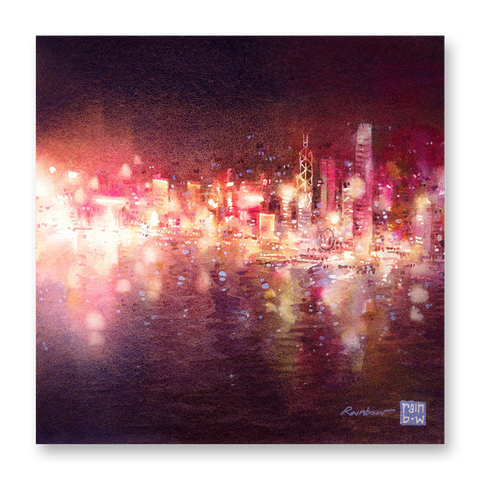
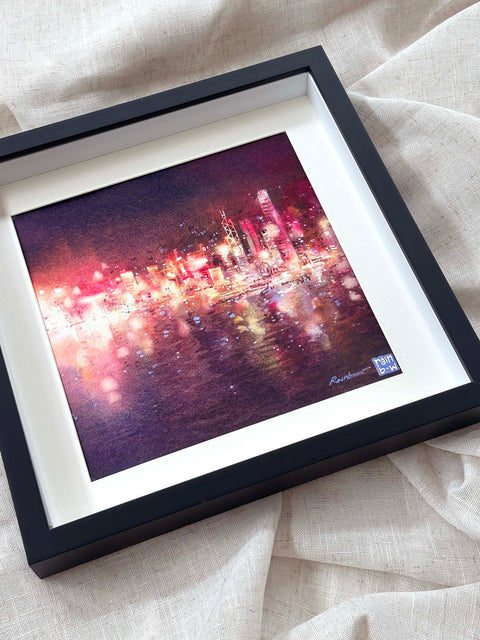
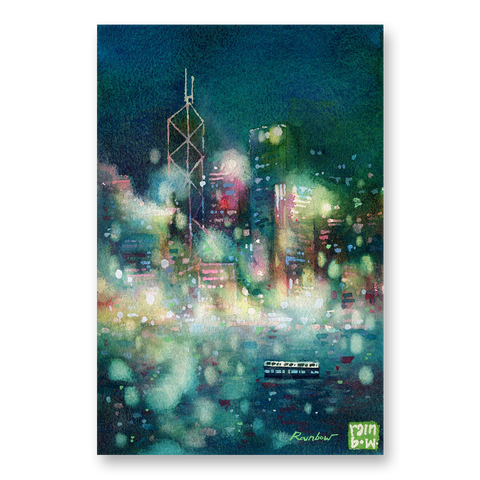
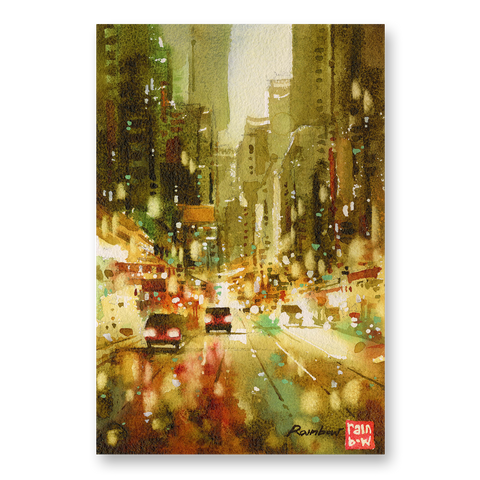
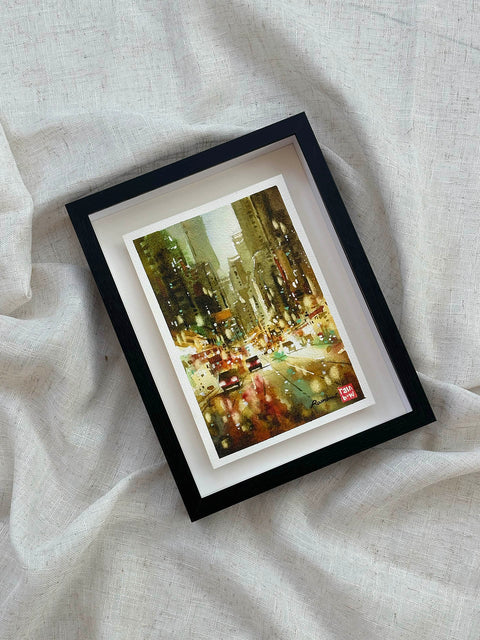
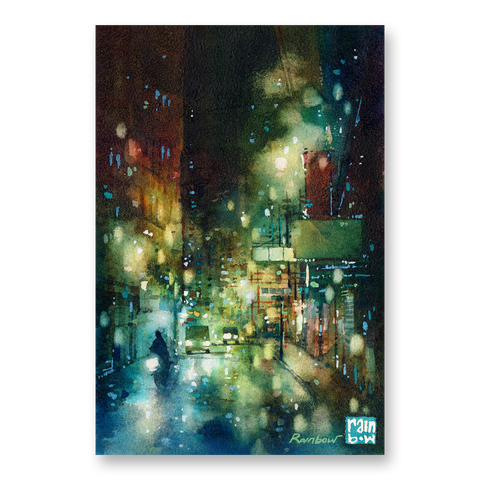
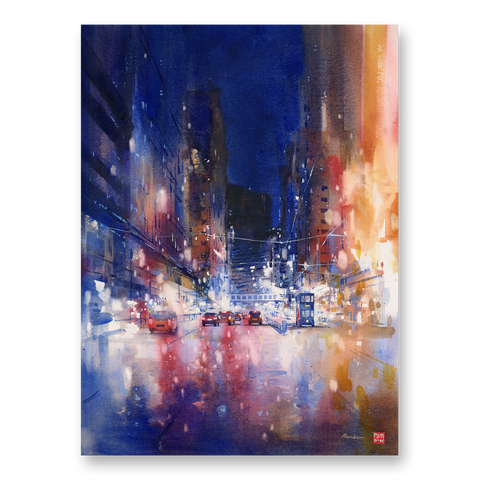
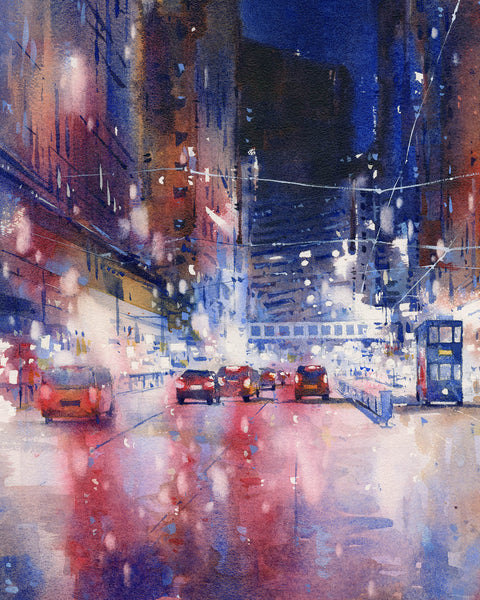
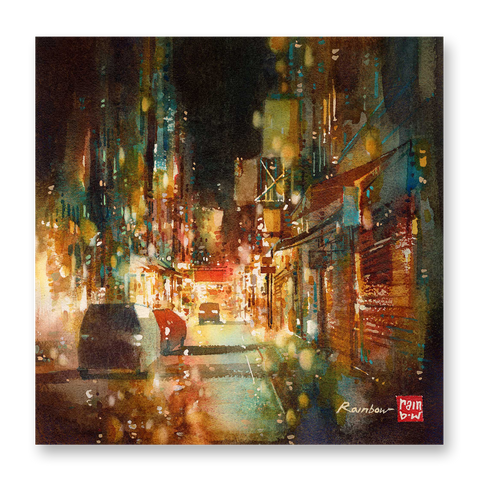
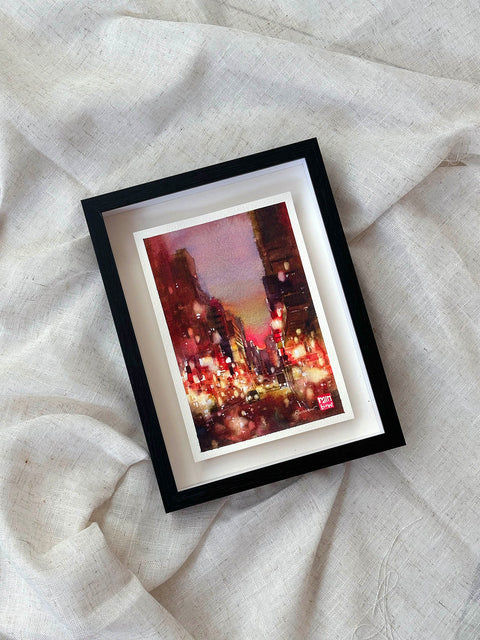
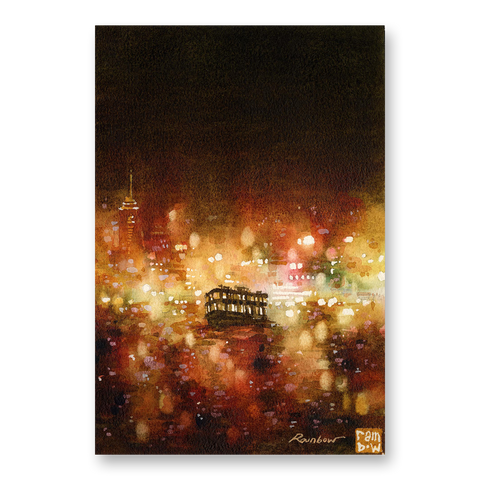
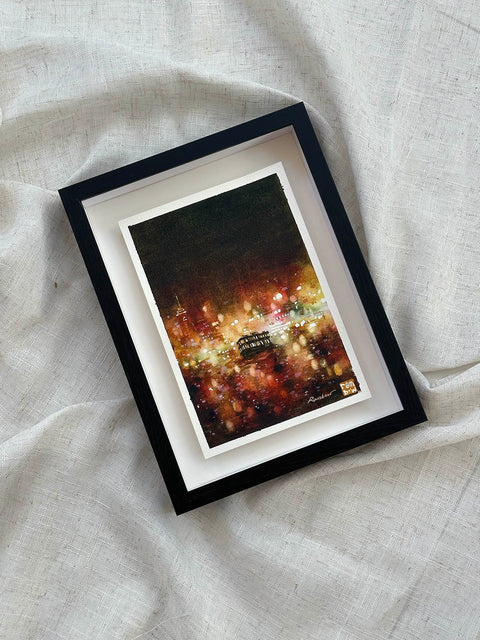
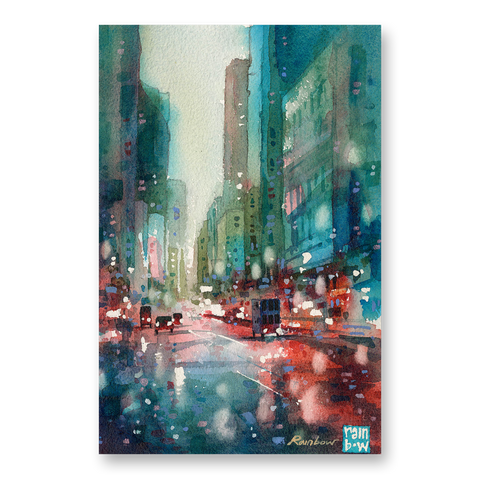
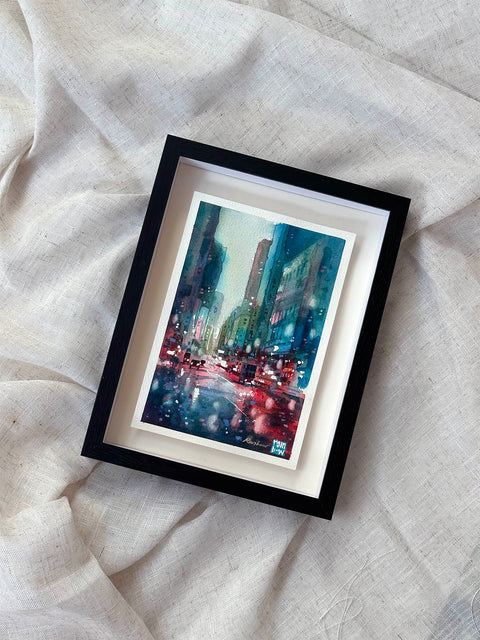
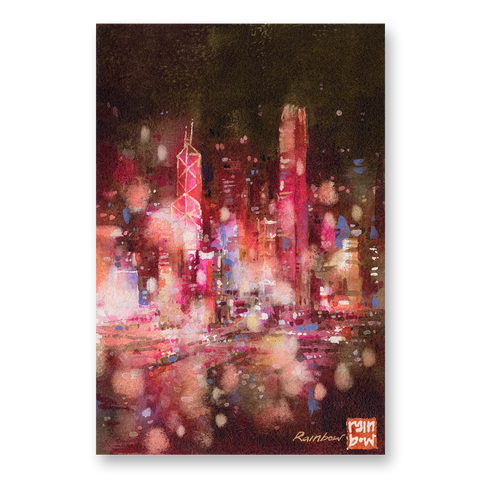
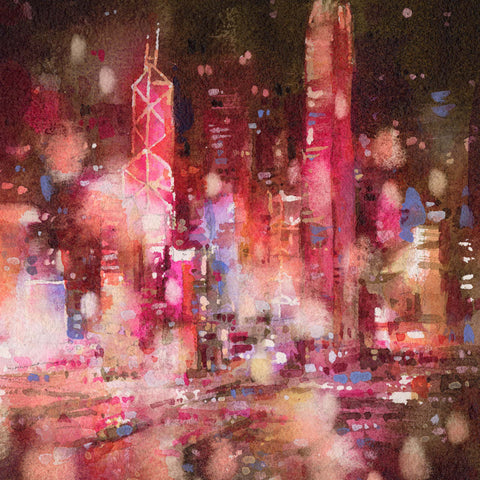
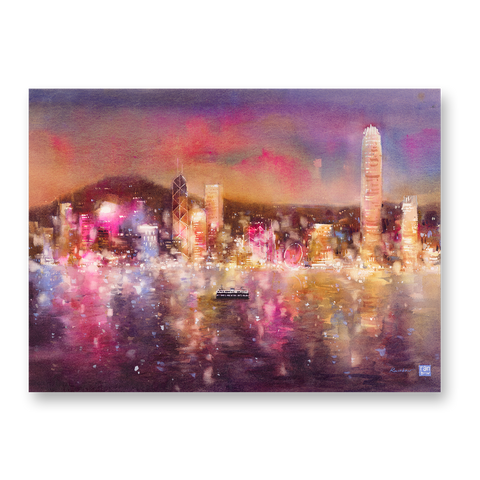
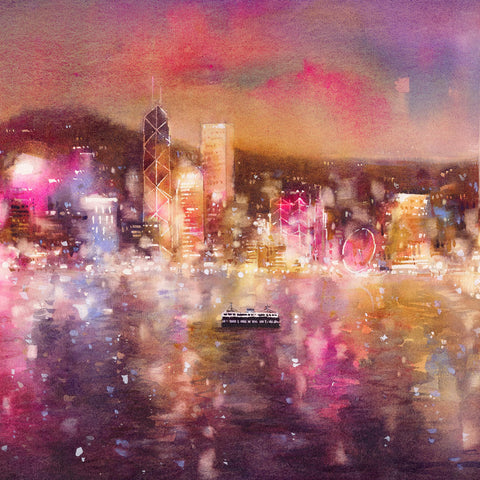
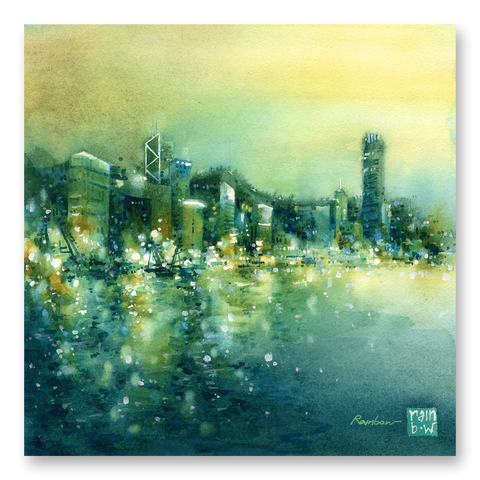
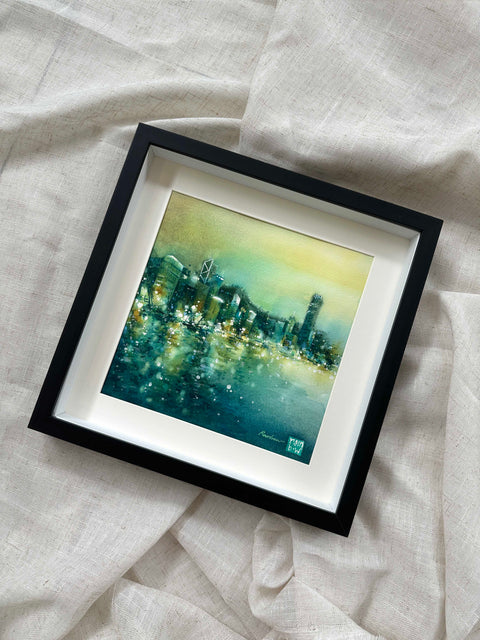
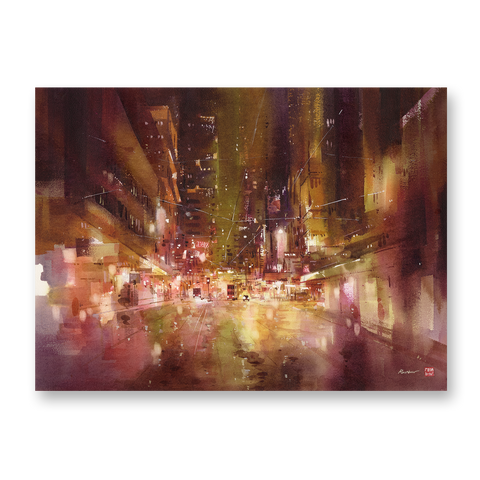
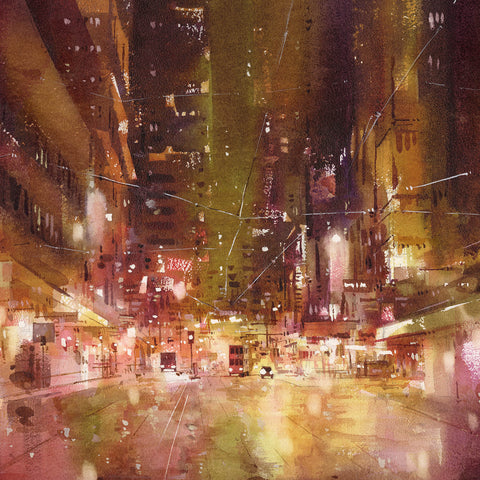
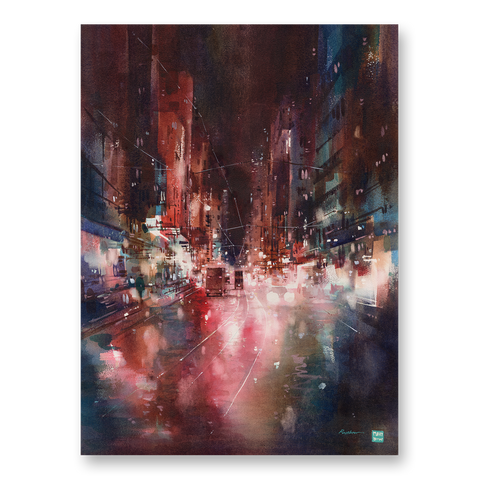
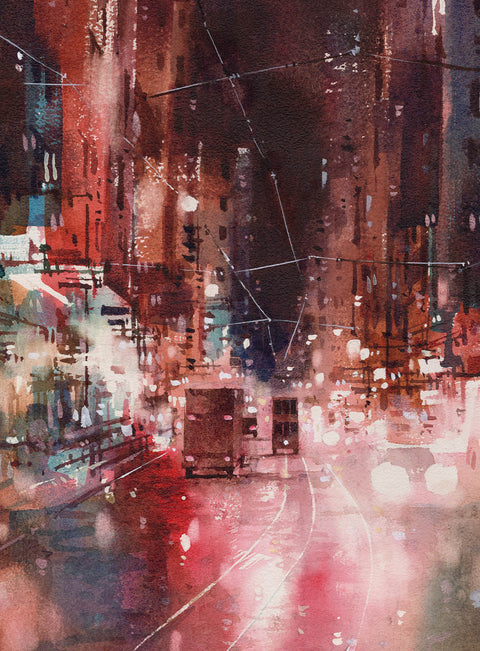
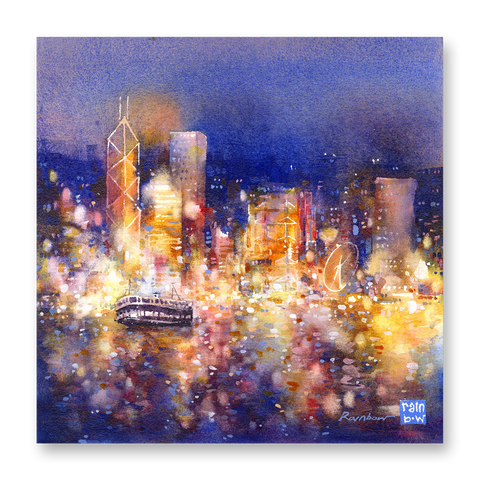
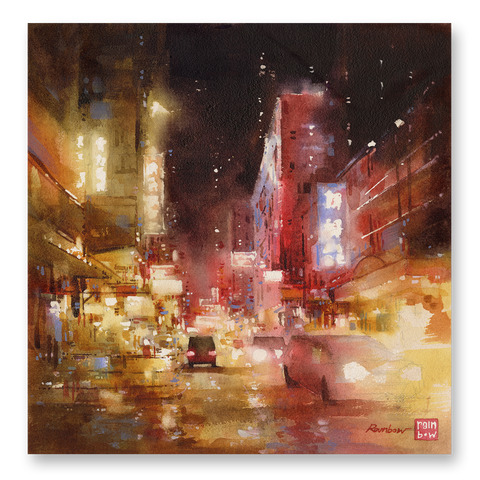
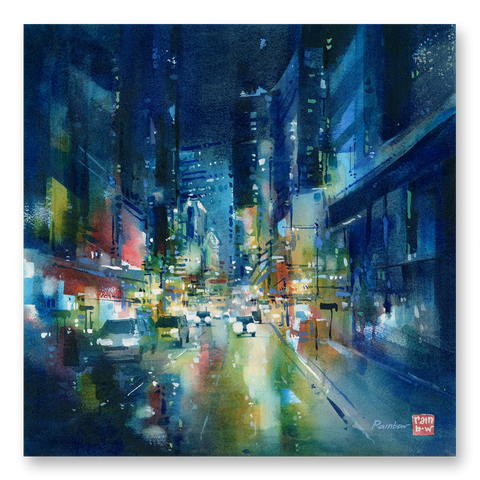
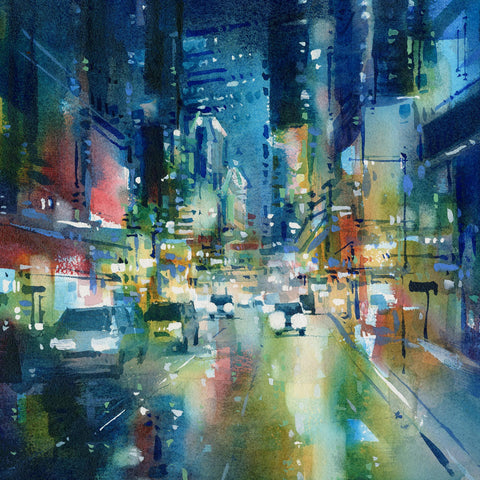
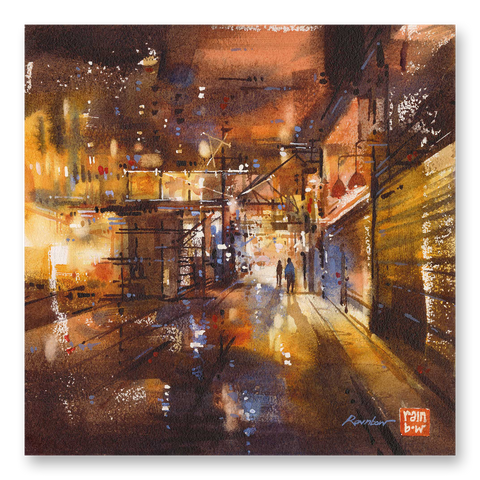
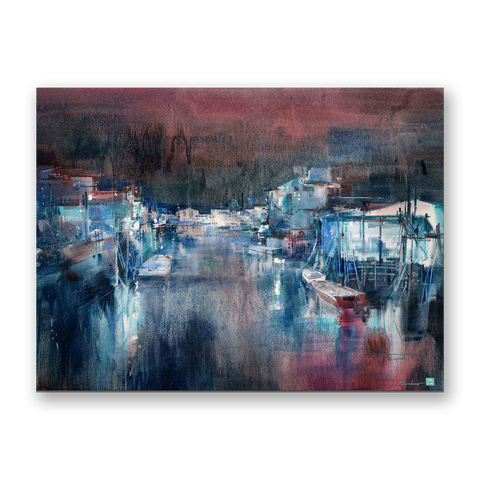
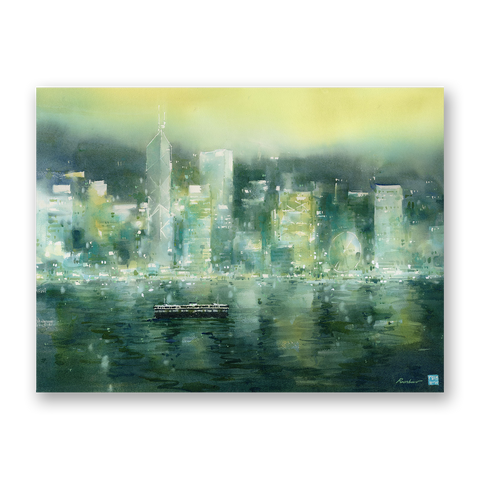
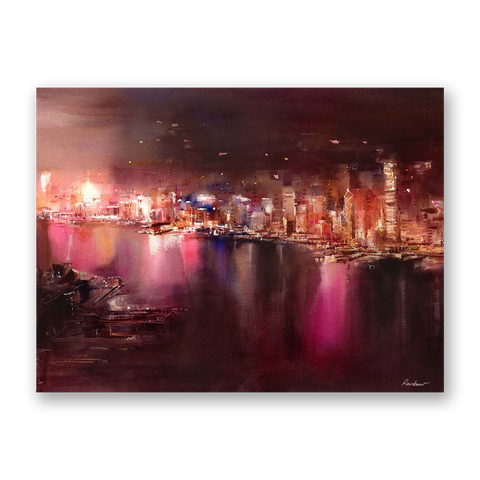
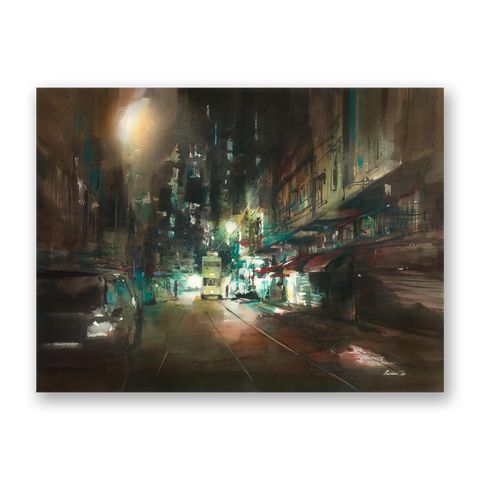
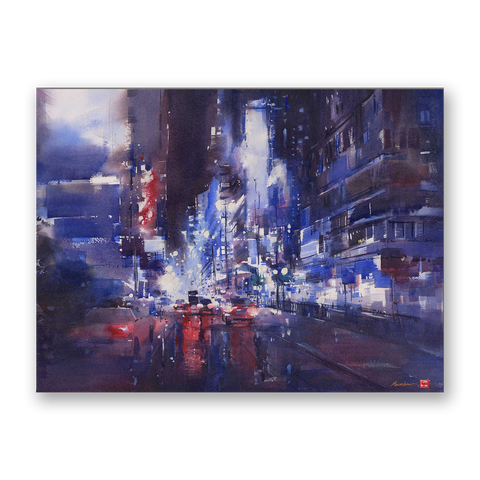
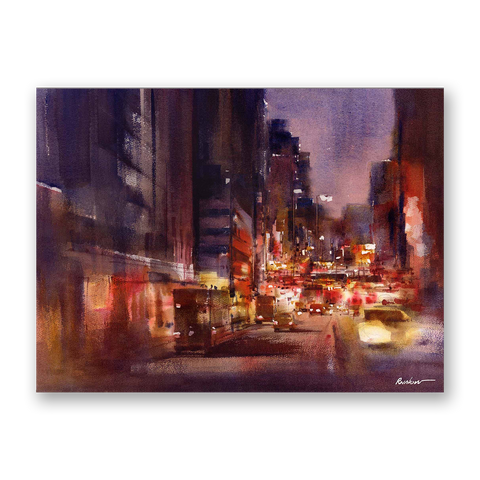
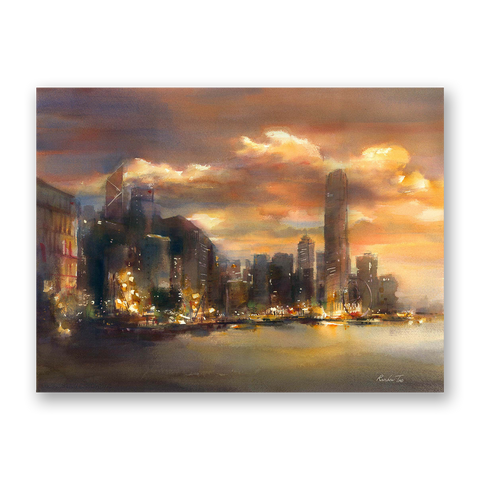
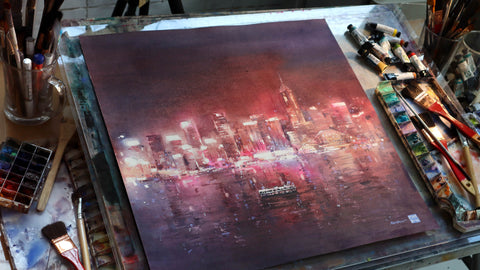
Here are a few more watercolor sunsets, some of these paintings are more beginner friendly while others are more advanced.

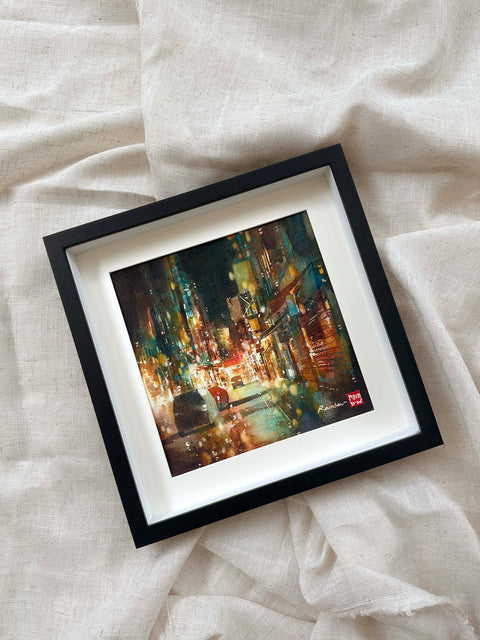
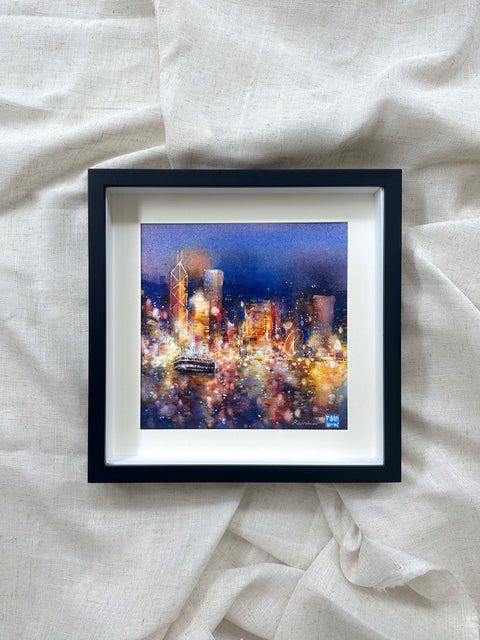
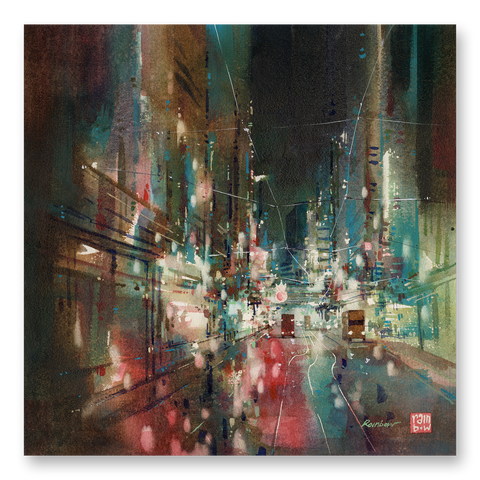
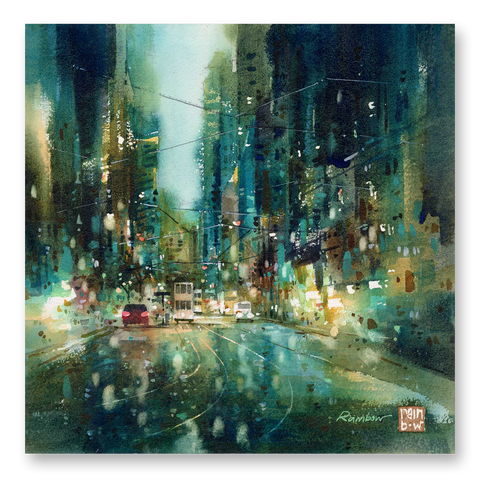
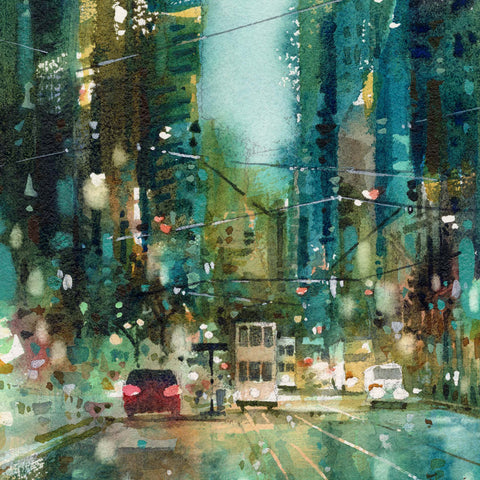
Watercolor on paper, by RAINB.W

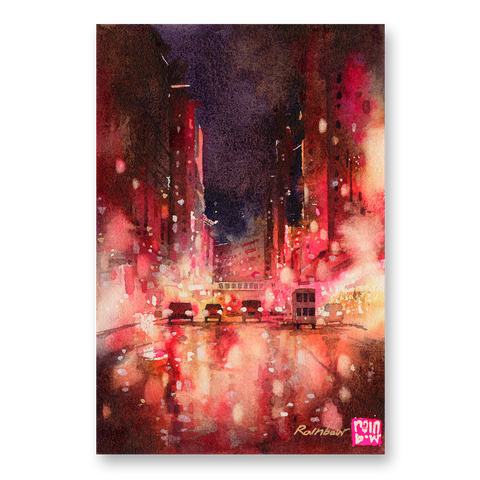
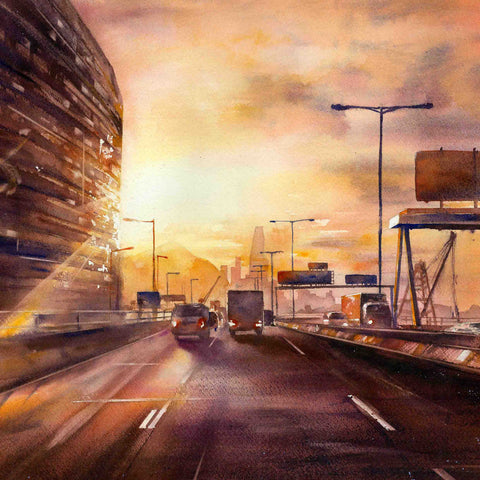
Watercolor on paper, by RAINB.W

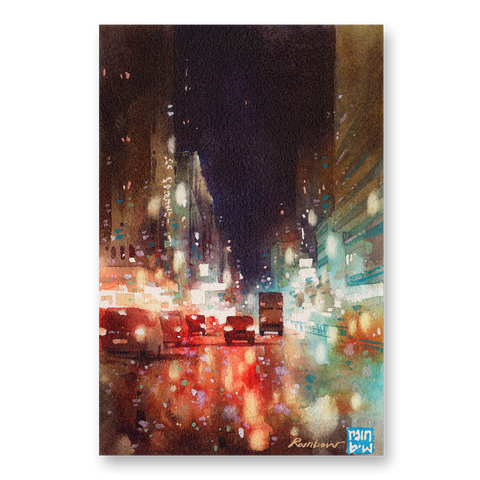
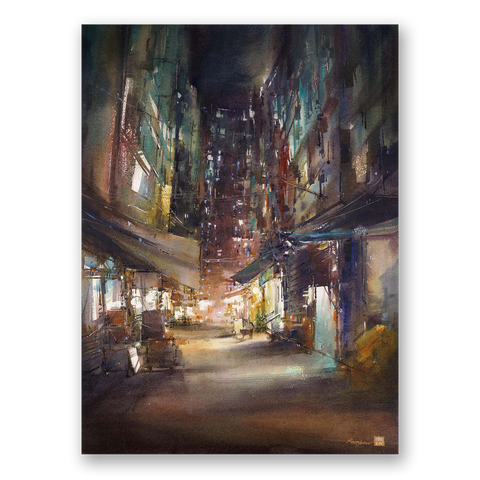
Watercolor on paper, by RAINB.W

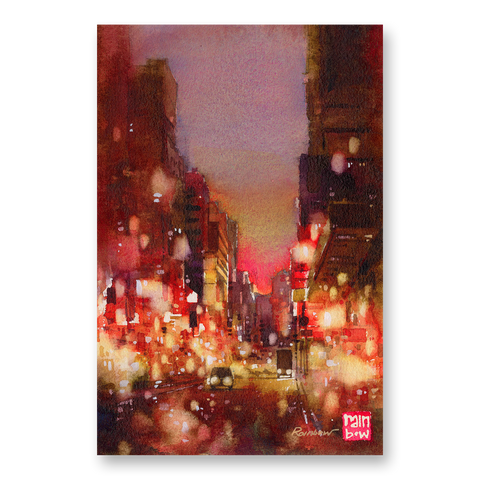
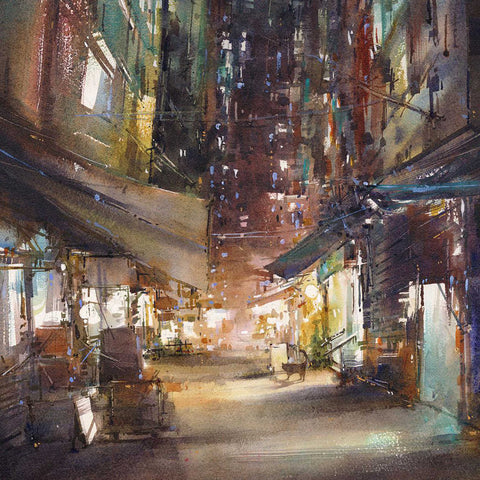
Watercolor on paper, by RAINB.W
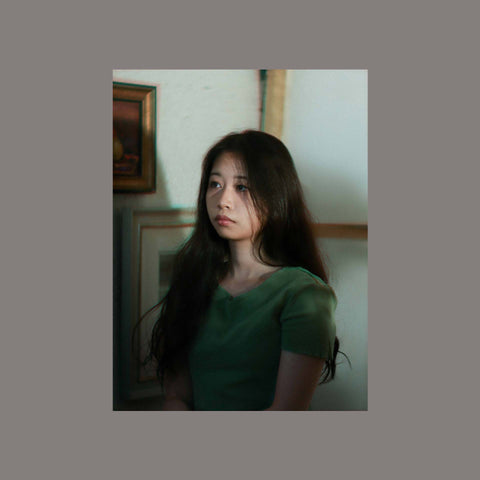
Meet the artist:
Hey! I'm Rainbow.
I am an artist based in Hong Kong. Among the various mediums with which I have worked, I found particular interest in the art of watercolor early on. I appreciated its fluid, flowing properties - it had a life of its own. The process of painting was like a dance with water; I was drawn to the movement of this medium, one that can never be fully controlled yet is wholly beautiful in its nature.
Over the years, I have created a number of series and collections exploring light and color in depicting environments and spaces. Painting has become the medium through which I ventured to see the world around me with wonder; to see the world in all its glorious beauty and serenity, with awe. In the last decade, I have been fortunate enough to share my work with others through exhibitions and workshops locally and internationally. I am honored to be sharing about my art with you here.
Here's where you can find more information about me and my work:
A look inside my painting process: On youtube
Learn to paint cityscapes with me: In my online class
Find my available original paintings: On my website
Find my art prints: On my website
Glimpses into my art practice: On instagram
Original Paintings and Art Prints by RAINB.W


Here's where you can find more information about me and my work:
A look inside my painting process: On youtube
Learn to paint cityscapes with me: In my online class
Find my available original paintings: On my website
Find my art prints: On my website
Glimpses into my art practice: On instagram
Read More on the Blog: